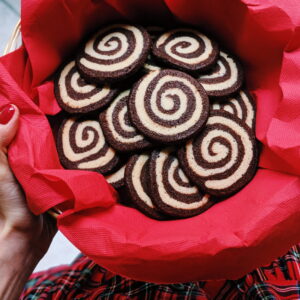
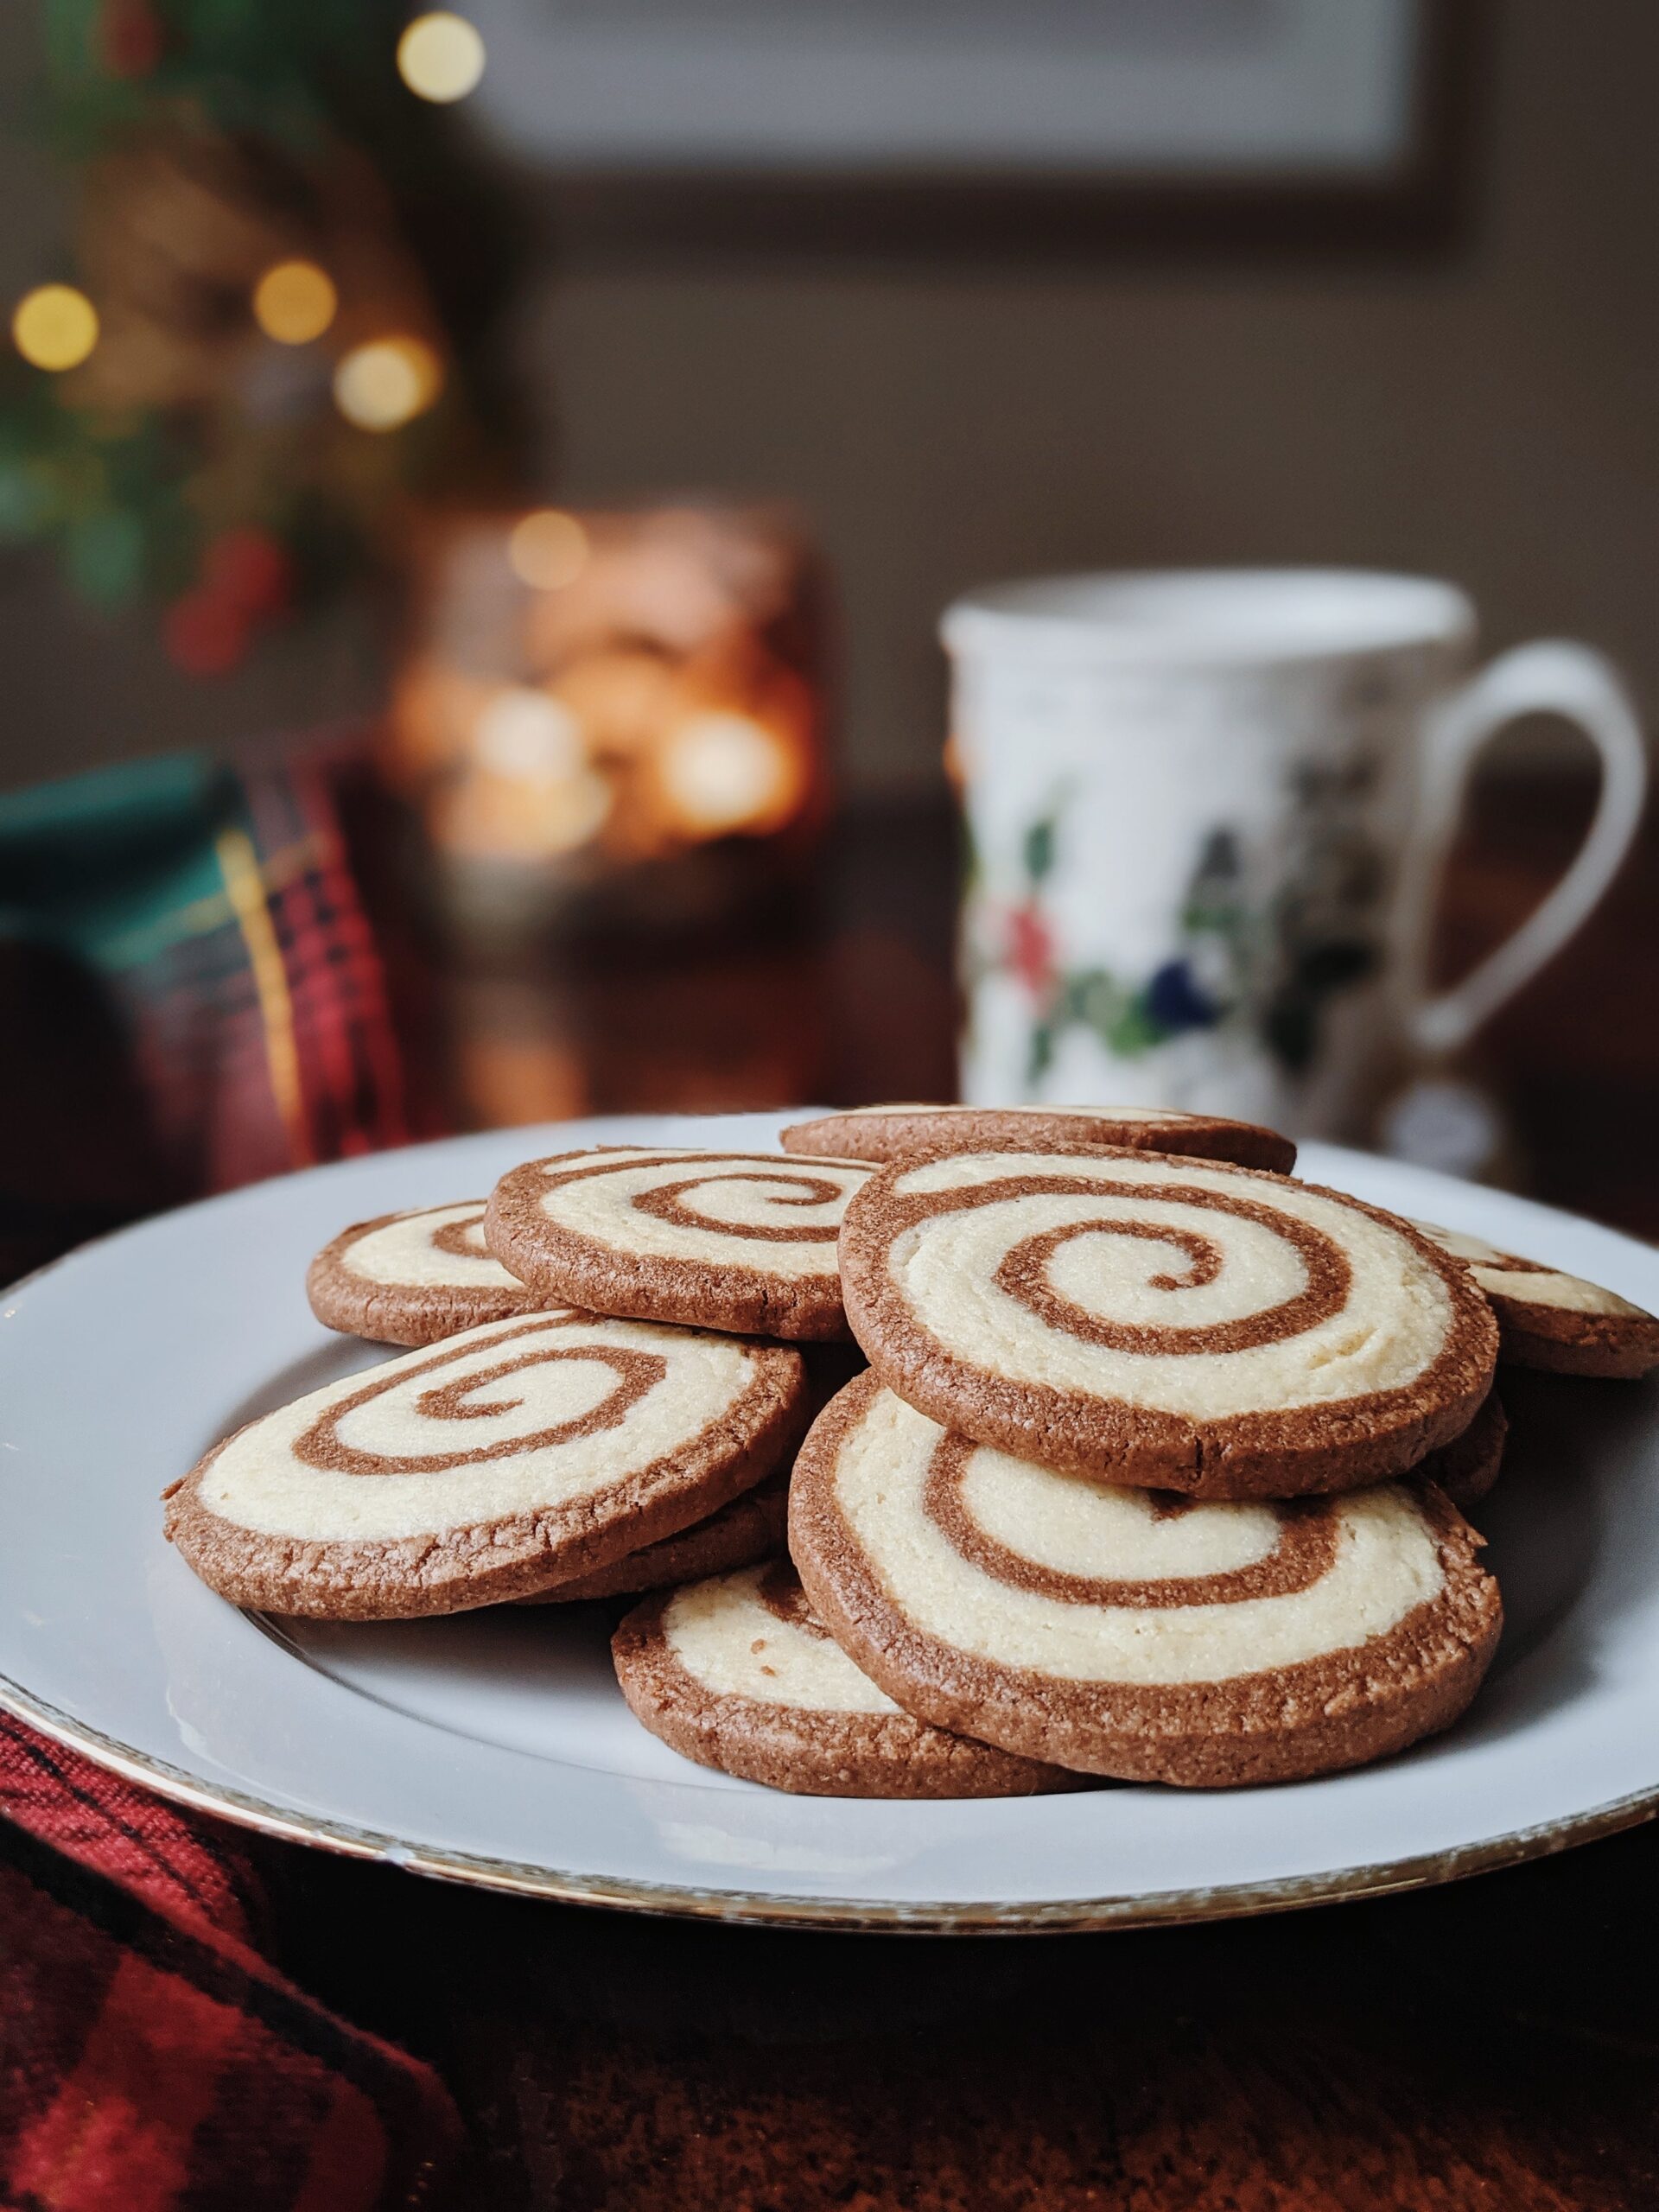
In the world of baking, the creation of intricate and visually striking treats often involves complex techniques and multiple doughs. However, there’s a delightful exception to this rule: one-dough pinwheel cookies. These charming confections not only showcase captivating swirl patterns but also boast a secret – they are crafted from a single, versatile dough!
Creating the Master Dough
To begin the process of making one-dough pinwheel cookies, we create the master dough. In a mixing bowl, cream the softened butter and granulated sugar until the mixture achieves a light and fluffy consistency. Next, add the egg and vanilla extract to the mixture, ensuring thorough incorporation. Gradually introduce the dry ingredients, continuing to mix until it forms a soft, pliable consistency.
Division and Transformation
Once we have prepared the master dough, we divide it into two equal portions. This division serves as the foundation for the magic that makes one-dough pinwheel cookies so unique.
Chocolate Infusion
To one portion of the dough, we add unsweetened cocoa powder. Knead the cocoa powder into the dough until it is evenly distributed, transforming it into a rich chocolate dough. This step creates the distinctive flavor and color contrast that defines pinwheel cookies.
Rolling Out the Layers
With both the vanilla and chocolate dough ready, place the vanilla dough between two sheets of parchment paper and roll it into a rectangular shape. Repeat the same process with the chocolate dough, ensuring that both dough rectangles are of the same size and thickness. This uniformity is essential for the creation of the intricate pinwheel pattern.
Assembling the Pinwheel
Carefully, peel off the top layer of parchment paper from both dough rectangles. Then, place the chocolate dough on top of the vanilla dough, aligning the edges. Starting from the long edge, we gently roll the layered dough into a log, creating the iconic pinwheel pattern. Ensuring a snug and even roll is crucial to the visual appeal of the cookies.
Chilling and Slicing
The dough log is then wrapped in parchment paper and refrigerated for at least 2 hours or until it becomes firm and easy to work with. This chilling process ensures that the cookies maintain their shape during baking. After refrigeration, the dough log is unwrapped and sliced into 1/2-inch rounds. This reveals the intricate and delightful pinwheel pattern, ready for baking.
Baking and Savoring
The pinwheel cookie slices are arranged on a baking sheet lined with parchment paper and baked in a preheated oven at 350°F (175°C). The cookies are baked for about 8-10 minutes, ensuring they are set but not overly browned. Once baked, they are left to cool on a wire rack, allowing you to indulge in the delightful swirls and the harmonious blend of vanilla and chocolate flavors.
Five Tips for Perfect Pinwheel Cookies
Creating one-dough pinwheel cookies is a delightful baking endeavor, but it can be made even more enjoyable with these tips:
- Chilled Dough is Key: Ensure that the dough is thoroughly chilled before slicing. This makes it easier to handle and maintains the distinct pinwheel pattern during baking.
- Uniform Thickness: Roll the vanilla and chocolate dough rectangles to the same thickness. This ensures that the pinwheels bake evenly.
- Gentle Rolling: When creating the pinwheel log, roll the dough gently and evenly to maintain the swirl’s integrity.
- Precise Slicing: Use a sharp knife to slice the dough rounds. Precision in slicing results in well-defined pinwheels.
- Rotate the Baking Sheet: To achieve even baking, rotate the baking sheet halfway through the baking time.
Essential Equipment for Making One-Dough Pinwheel Cookies
To make the process of creating these delightful pinwheel cookies smoother, having the right equipment can be a game-changer. Here’s a list of essential items that will come in handy:
- Mixing Bowls: Multiple mixing bowls in various sizes for preparing and dividing the dough.
- Electric Mixer: A stand mixer or handheld electric mixer to cream the butter and sugar effectively.
- Measuring Tools: Precise measuring cups and spoons for accurate ingredient portions.
- Parchment Paper: To roll out and assemble the dough, and for easy cleanup.
- Rolling Pin: A rolling pin for flattening the dough into even rectangles.
- Sharp Knife: A sharp, thin-bladed knife for slicing the dough log.
- Baking Sheet: A sturdy baking sheet lined with parchment paper for baking the pinwheel cookies.
- Wire Rack: A wire cooling rack for letting the baked cookies cool and set.
With the right equipment and our detailed instructions and tips, you’ll be well-prepared to create your own one-dough pinwheel cookies. Enjoy the journey and the delightful outcome of this unique and flavorful baking adventure. Happy baking!

Pinwheel Cookies
Ingredients
- 260 g flour
- ½ tsp baking powder
- 1 tsp salt
- 115 g butter room temperature
- 200 g sugar
- 1 egg
- 2 tbsp milk
- 1 tsp vanilla
- 2 tbsp unsweetened cocoa powder
Instructions
- Whisk together the flour, baking powder and salt. Set aside.
- In a large bowl, beat the butter and sugar on medium to high speed until light and fluffy. Add in the egg, milk and vanilla extract.
- Carefully mix in the dry ingredients on low speed until just combined.
- Divide dough into two portions. In one half, mix in the cocoa powder.
- Chill the dough for 1 hour in the refrigerator.
- Roll one portion of the dough on a floured surface to a 9×5 inch rectangle (about ¼ inch thick).
- Roll out the other dough and place it on top. Pat down lightly.
- Start with long side and roll tightly.
- Wrap the log and chill for several hours or overnight, or in the freezer for 1 hour.
- Preheat 350°F (175°C).
- Cut the log into ½ inch thick slices.
- Place the slices 1 inch apart on a greased or lined cookie sheet.
- Bake for 8-10 minutes or until edges and bottom are lightly browned.
- Cool on a wire rack.

